Materialize Bridge Docs
v1
v1
  • Intro
  • 1. About this application
    • 1.1 Introduction
    • 1.2 Navigation guide
    • 1.3 Components catalog
    • 1.4 Internal Structure
    • 1.5 Installation
    • 1.6 Project status
    • 1.7 Color switcher
  • 2. Installation
    • Webpack, Aurelia-CLI (Webpack)
    • JSPM
    • Aurelia-CLI (require)
    • Fuse-box 2.x
  • 3. App developers tutorial
    • 3.1 Introduction
    • 3.2 Setup
    • 3.3 Select component
    • 3.4 Button component
    • 3.5 Slider component
    • 3.6 Collapsible component
    • 3.7 What you need to know
  • 4. App developers notes
    • 4.1 On bundling
    • 4.2 Using your own SASS with JSPM
  • 5. Contributing (bridge developers notes)
    • Cloning and running the code
    • Creating samples
  • 6. About Aurelia
    • 5.1 Key Features
  • 7. About Materialize
    • 7.1 Integrated with Aurelia
    • 7.2 Why choose Materialize
Powered by GitBook
On this page
  • File app.html
  • File main.js
  • File nav-bar.html
  1. 3. App developers tutorial

3.2 Setup

Previous3.1 IntroductionNext3.3 Select component

Last updated 7 years ago

Most people like explanations in the context of doing what is just being explained. So let's do something very simple as the first step in showing how to use Materialize bridge. We will add several interesting pages rendering Materialize controls to the well known Aurelia Skeleton Navigation, a starter kit for building a standard navigation-style app with Aurelia.

Get it from and use the Download ZIP method so we do not have to deal with Git issues in this simple context. After downloading this application, extract the contents of the folder named skeleton-esnext into the folder conveniently named skeleton-navigation-materialize and use the instructions to build and run this app. Make sure that you already have the NodeJS, jspm and gulp installed, this application should be running after you execute

JSPM:

npm install
jspm install
gulp watch

webpack:

npm install
npm start

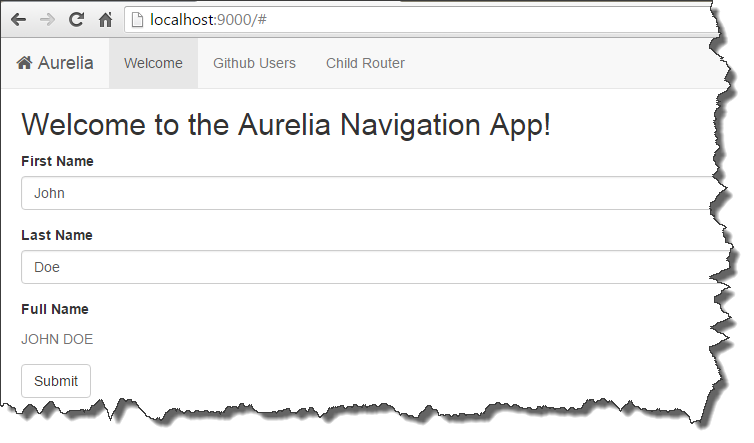
and subsequently browse to , resulting with the following:

Image 1

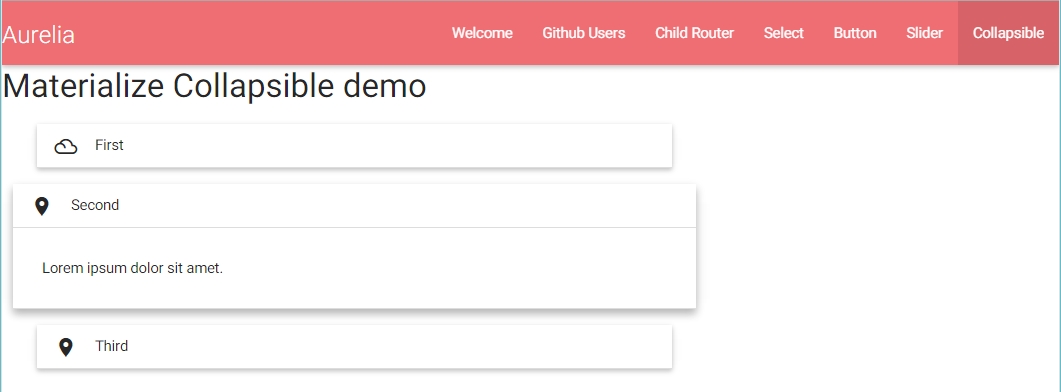
Now, we want to add four additional pages to this application. These pages will show Materialize select, button, slider and collapsible components:
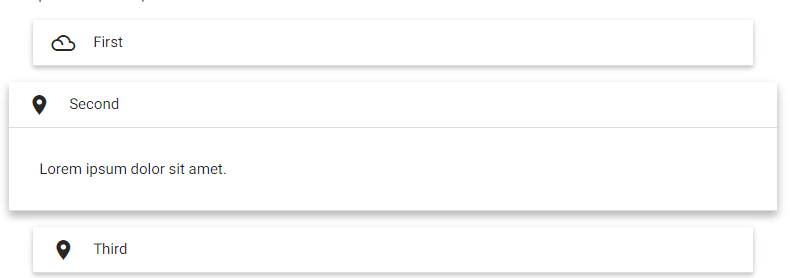
Image 2 (collapsible shown rendered in its pop-out variant)

At this point verify that your main.js class looks like this:

import 'materialize-css';

export function configure(aurelia) {
  aurelia.use
    .standardConfiguration()
    .developmentLogging()
    .plugin('aurelia-materialize-bridge', bridge => bridge.useAll());

  aurelia.start()
    .then(au => au.setRoot('app'));
}

as this will ensure that the application we are about to augment from its original form, loads the Aurelia Materialize bridge (named bridge in the above code).

The next screenshot depicts the final UI for the application we are about to create, with four additional menubar items

  • Materialize select

  • Materialize button

  • Materialize slider

  • Materialize collapsible

Image 4 In order to clearly separate the added code from the original Aurelia Navigation Skeleton, the original project structure is changed to this:
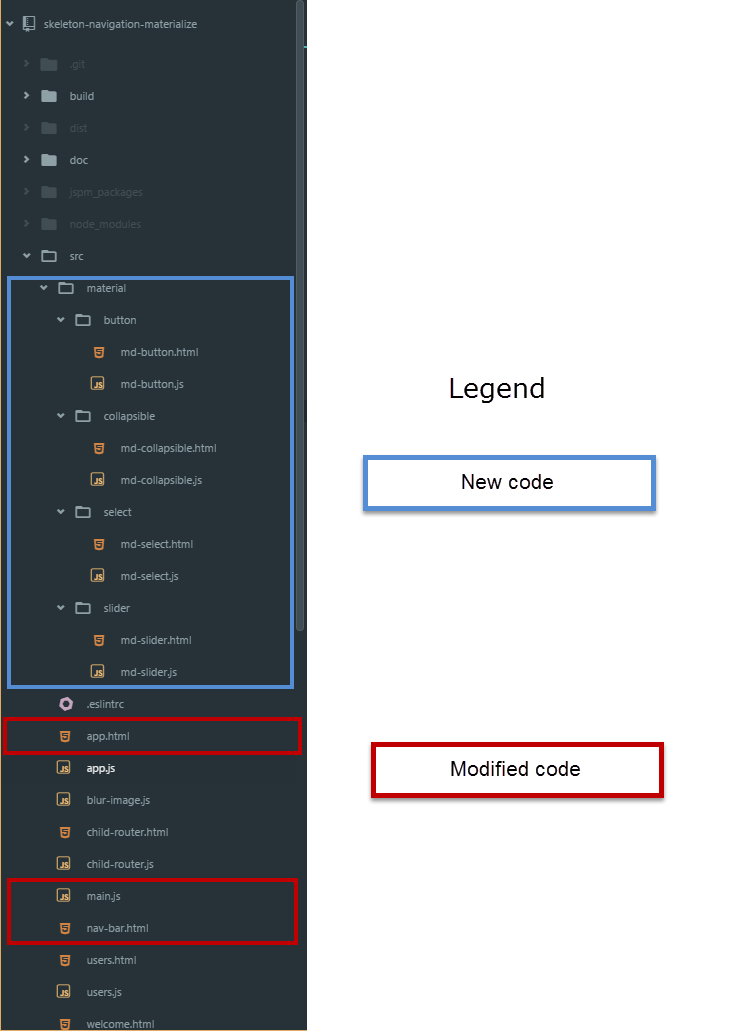
Image 5

In the following articles you will fill the blue box.

As the last actions in this Setup section of the tutorial, you need to make the following changes, that are indicated in the Modified code section of Image 5 above

File app.html

<template>
  <!-- the path below may even be "materialize-css/materialize.css", depending on your chosen materialize -->
  <require from="materialize-css/bin/materialize.css"></require>
  <require from="nav-bar.html"></require>

  <nav-bar router.bind="router"></nav-bar>

  <div class="page-host">
    <router-view></router-view>
  </div>
</template>

File main.js

import 'materialize-css';

export function configure(aurelia) {
  aurelia.use
    .standardConfiguration()
    .developmentLogging()
    .plugin('aurelia-materialize-bridge', bridge => bridge.useAll());

  aurelia.start()
    .then(au => au.setRoot('app'));
}

File nav-bar.html

<template bindable="router">
  <md-navbar fixed="true">
    <a href="#" class="brand-logo left"><span class="flow-text">${router.title}</span></a>
    <ul class="right hide-on-med-and-down">
      <li md-waves repeat.for="row of router.navigation" class="${row.isActive ? 'active' : ''}">
        <a href.bind="row.href">${row.title}</a>
      </li>
    </ul>
  </md-navbar>
</template>

Next, install aurelia-materialize-bridge as described in the .

installation instructions
here
http://localhost:9000